
Back in January, I spent the better part of a day at Woodcraft in Orlando at a basic woodworking class. I've been wanting to tackle some projects for awhile now, but power tools scared me a bit. Plus I'm clumsy and scatter-brained so I really thought it would be appropriate to take a class to make sure I understood all of the safety precautions.
It turned out that the class was really about learning to mill your own boards from raw wood. I wouldn't have known what that meant prior to the class, so let me explain. Raw wood hasn't been finished for us in furniture or other projects. It's splintery and not smooth, and the edges aren't necessarily even parallel. When wood is milled, it results in a rectangular prism - three sets of parallel sides, with finished smooth planes. To do this, you need a few things: a jointer, a planer, a table saw, and a circular or miter saw.
None of the first three of these is in my budget, plus right now I'm working with white boards (aka cheap pine) that I'm planning to stain or paint. But the miter saw was my first planned purchase, so knowing how to use that was the major benefit from the class.

I spent a long time trying to figure out which miter saw to purchase. I finally decided that, since I tend to burn out on hobbies somewhat quickly, I would go with something inexpensive that I could upgrade later if I decided to get REALLY serious about woodworking and needed the extra features. I knew a 10" saw was the minimum I would consider.
I finally decided on the CRAFTSMAN 10-in 15-Amp Single-Bevel Laser Compound Miter Saw which was $149 at Lowe's, which after my husband's military discount was only around $135. It bevels, miters, and cuts...so it does everything I can conceive of needing for awhile. It also folds and stores away nicely.
I had pinned a few projects, but I decided to go with this one: How to Make a DIY Blanket Ladder for Just $10 from LifeStorageBlog. I followed her instructions exactly, but I found a couple of limitations. So if you're doing a project like this for the first time, I'll point you to her blog but add in a few additional pieces of information that I think will help:
- She calls for (3) 2x4" boards. Unfortunately, she didn't specify what length! My brain wasn't up for figuring that out while shopping, so I bought 12' length and had to drive home with the dumb things hanging out of the back of my van. Get 8' boards. That's all you need.
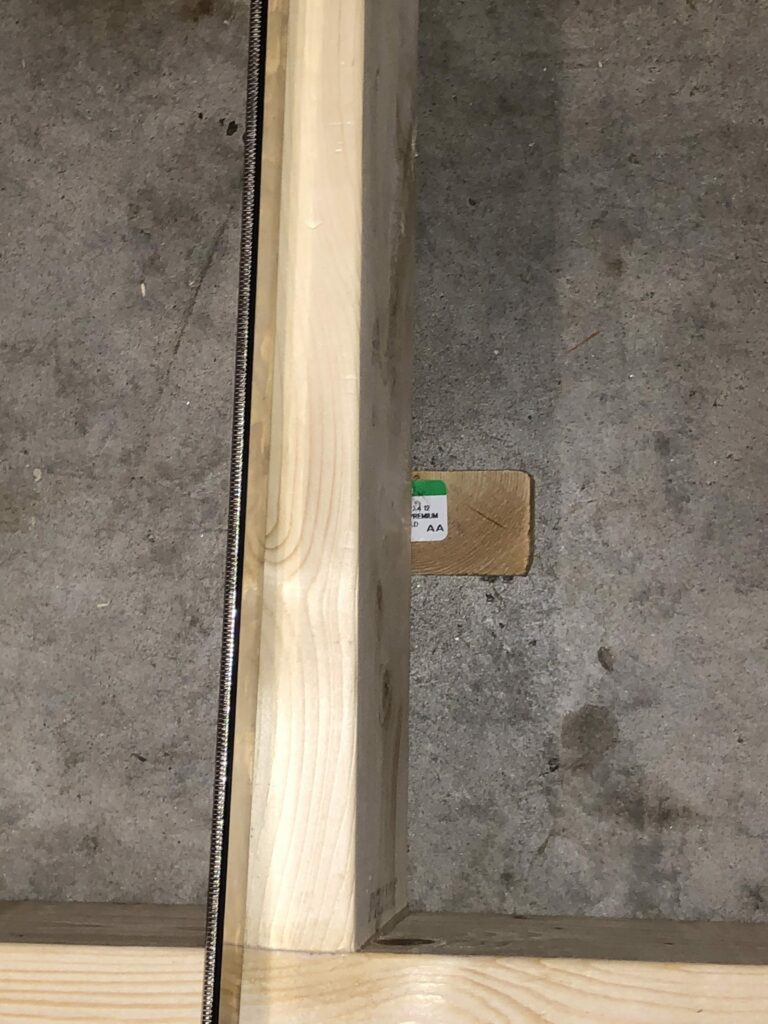
- I actually used the 10-degree trims in a different way, when I was angling the rungs. I put it under each rung instead of beside it. This helped because I discovered during the project that my brad gun had a maximum brad length that was too short for the project, so I had to completely rely on glue and clamps. (By the way, go get a Roybi Airstrike P320 if you're in the same boat...this headache wasn't work the savings.) Here's an image showing it:

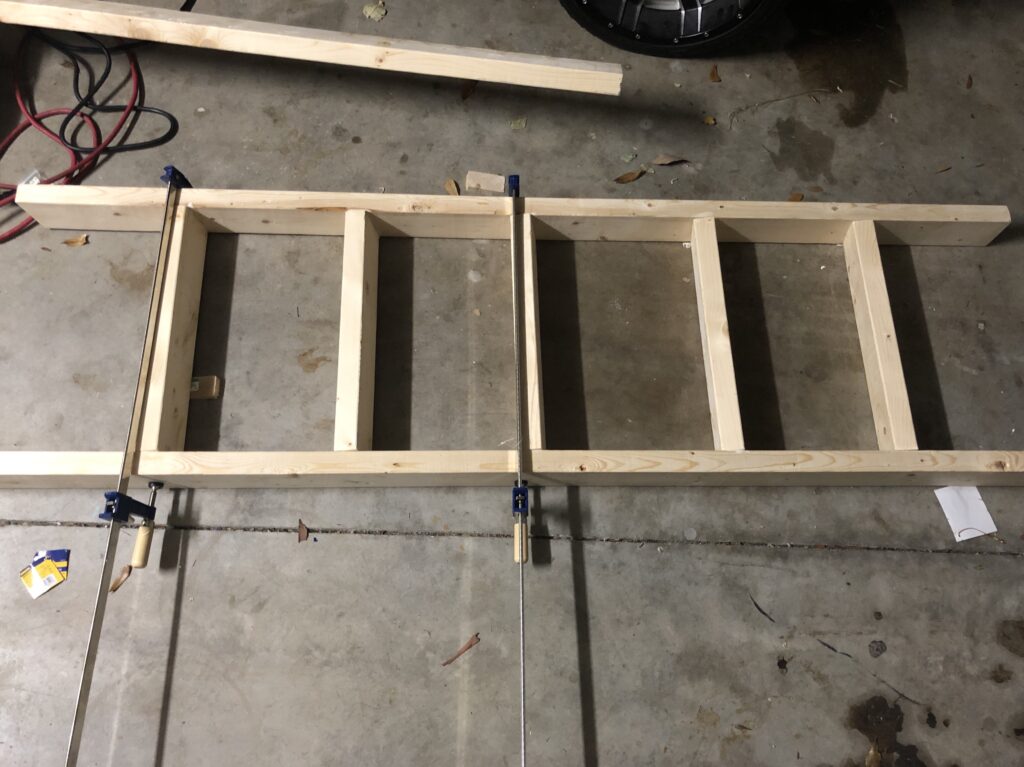
Once I got all the rungs in place, glued, and clamped together, it looked like this:
I let it dry for 24 hours, and then I stained it. I decided to use the General Finishes Gel Stain in Espresso, which I had leftover from previous projects. I did two coats, sanding VERY lightly with 200 grit sandpaper after each one. I finished up with a coat of General Finishes High Performance Water Based Topcoat in Satin. An important thing to note is that, because the gel stain is oil-based and the topcoat is water-based, it requires 72 hours of drying and curing time between the last stain coat and the topcoat.

I didn't really have anything woodworker-y to place the ladder on while staining and applying the topcoat. But I did have something baseballmom-y... a pair of buckets. They worked great.
The entire thing needs to cure for 21 days before placing anything heavy on it. To make sure I didn't ruin the carpet in the family room, I placed a couple of carpet scraps underneath. I plan to leave them there until after spring break. At that point I'll place more decor items on the ladder, too. But it still looks pretty good as it is!


If you like this please be sure to pin it to Pinterest, or use the buttons below to share. Thank you!
Kath
Great job, Susan. It looks very professional!! WooHoo
Susan
Thanks Kath!